QUESTS · CORE GUIDE
The Blood of Dawnwalker Walkthrough
The open world gives you freedom, but freedom without a route is how the clock wins. This walkthrough turns the post-Prologue game into a sequence of useful loops: prepare, raise one vassal's pressure, unlock the next confrontation and return to the main thread before the deadline closes.
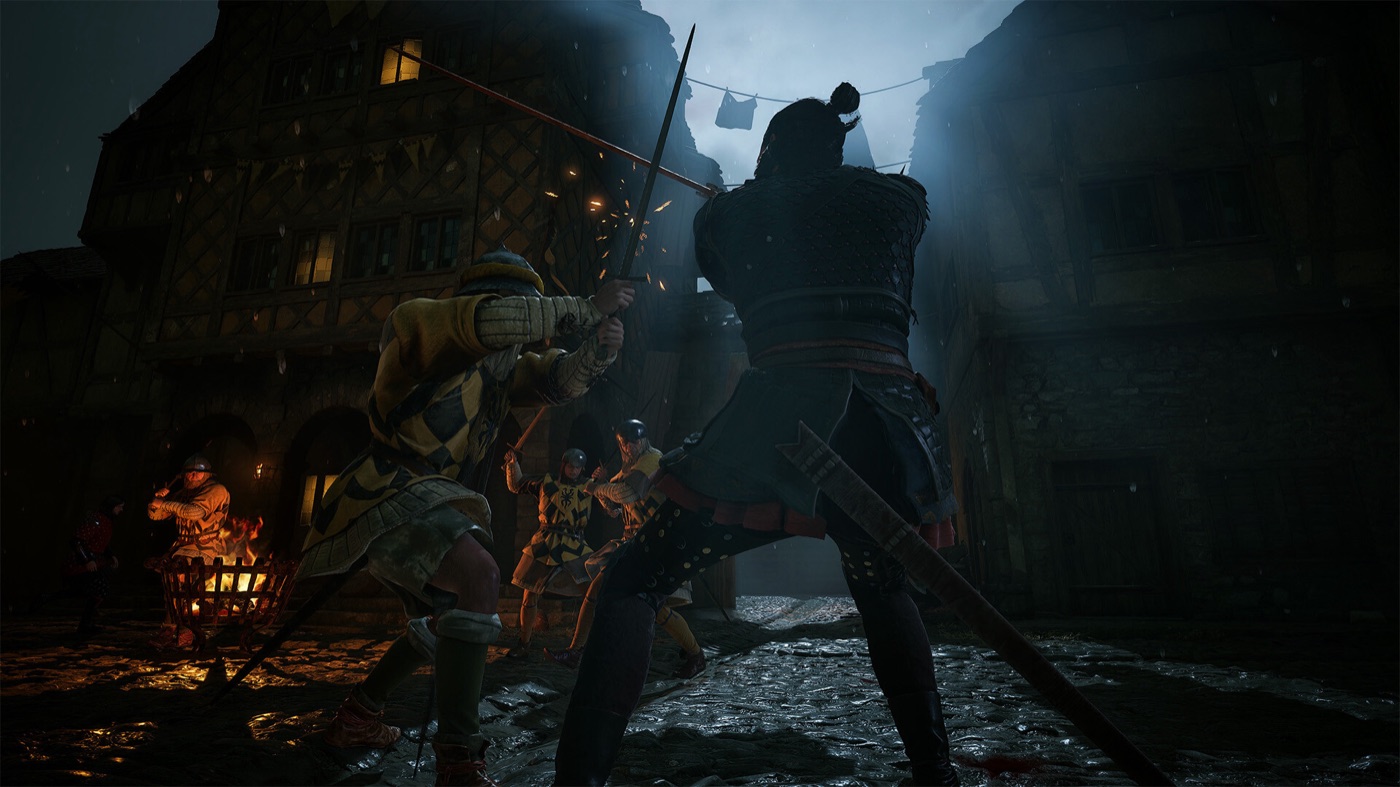
Finish the Prologue objectives you want, then build the first vassal route around Ambrus → Bakir → Xanthe. This is a practical level-and-travel recommendation, not a claim that the game removes all freedom.
How the walkthrough is organised
After the opening, do not think of the game as “main quest first, side quests later.” Think in three layers:
Main thread
Moves Coen toward the family objective and the final confrontation. It tells you which region or person matters next.
Court pressure
Activities raise the anger of Ambrus, Bakir and Xanthe, opening the route toward their boss encounters.
Preparation
Skills, gear, vendors, shrines and relationship objectives make the next story step safer or preserve an ending option.
When a guide entry below says “prepare,” it does not mean clear the whole map. It means take the shortest useful detour near your current objective.
First hour after the Prologue
Make a post-Prologue save
Keep the opening route separate from your open-world route. If you later decide a relationship or missed quest matters, this save is your clean restart point.
Read the Court screen before travelling
Identify which vassal is currently useful to pursue and which nearby activity markers can be grouped into one trip.
Choose a single region loop
Visit a vendor or shrine, complete one main objective and take only the Court Activities that sit on the way back. Avoid zig-zagging for a single chest.
Return to the story with your reward
Once you have gained a key, skill, relationship result or Court threshold, stop exploring and push the main thread. This prevents “preparation” from becoming a second untracked campaign.
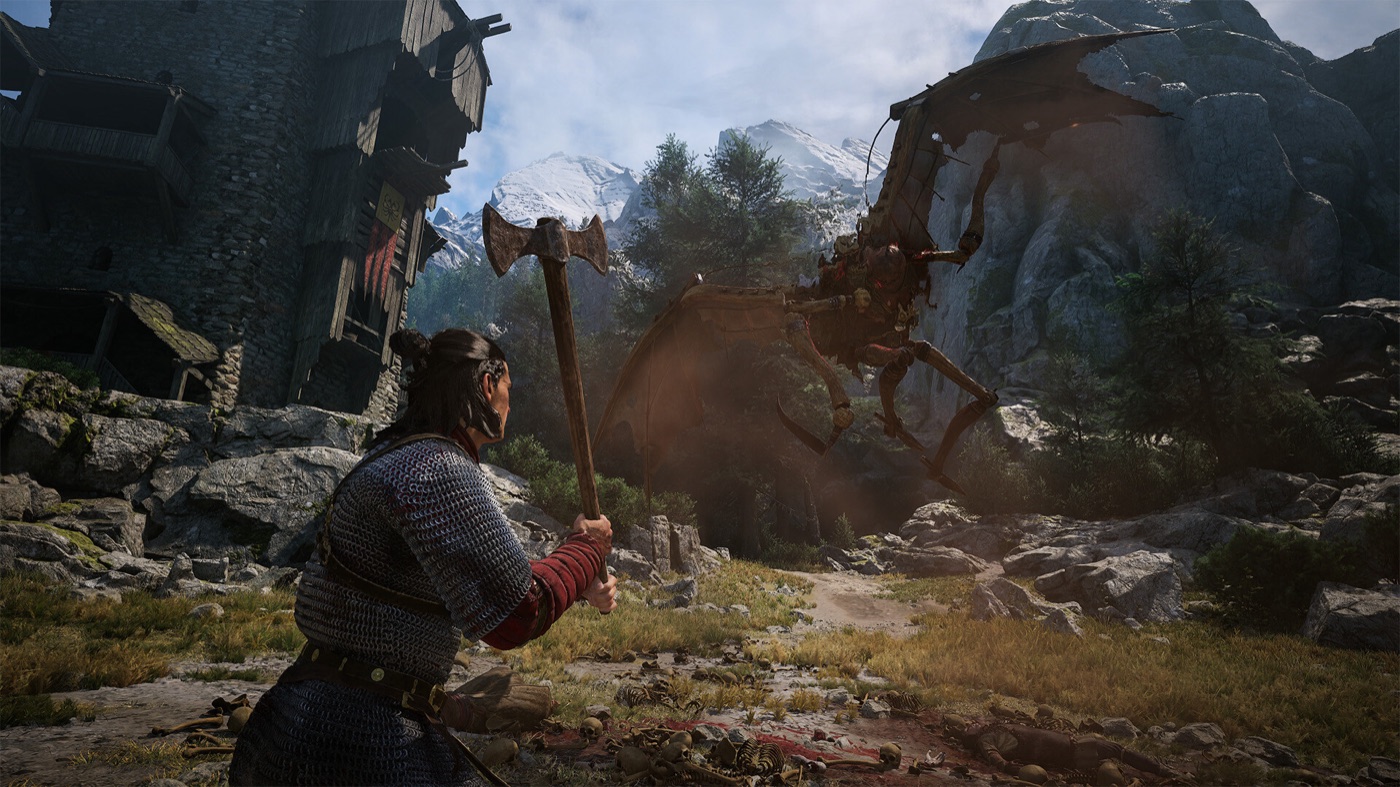
Vassal route: Ambrus, Bakir and Xanthe
The current launch route reference groups Court progression by three vampiric vassals. The order below keeps the early levels and travel pressure manageable, while still leaving you room to respond to the story.
| Stage | Focus | Route rule | Do not forget |
|---|---|---|---|
| 1 · Ambrus | Early Court Activities | Use nearby activities to learn the system. | Read each activity's location and cost first. |
| 2 · Bakir | Mid-route pressure | Move on when the local loop stops paying for itself. | Carry a manual save before a boss commitment. |
| 3 · Xanthe | Late preparation | Arrive with the build and gear route already chosen. | Keep an ending plan separate from boss preparation. |
Exact level recommendations are useful as a warning, not a wall. If your build or difficulty changes the risk, use the nearest safer activity and return after gaining the missing tool.
The Court Activity loop
Court Activities are the bridge between exploration and the main story. A good loop looks like this:
- Open the activity entry and note the vassal, region, time cost and expected reward.
- Mark a safe return route before you leave the settlement.
- Complete nearby activities in one direction rather than backtracking.
- Return to the Court menu and check whether the next story trigger is ready.
- If the next activity asks for a long trip with no meaningful reward, push the main route instead.
The separate Court Activities guide has the activity count and vassal-by-vassal reference. Use this walkthrough for order; use that page for location detail.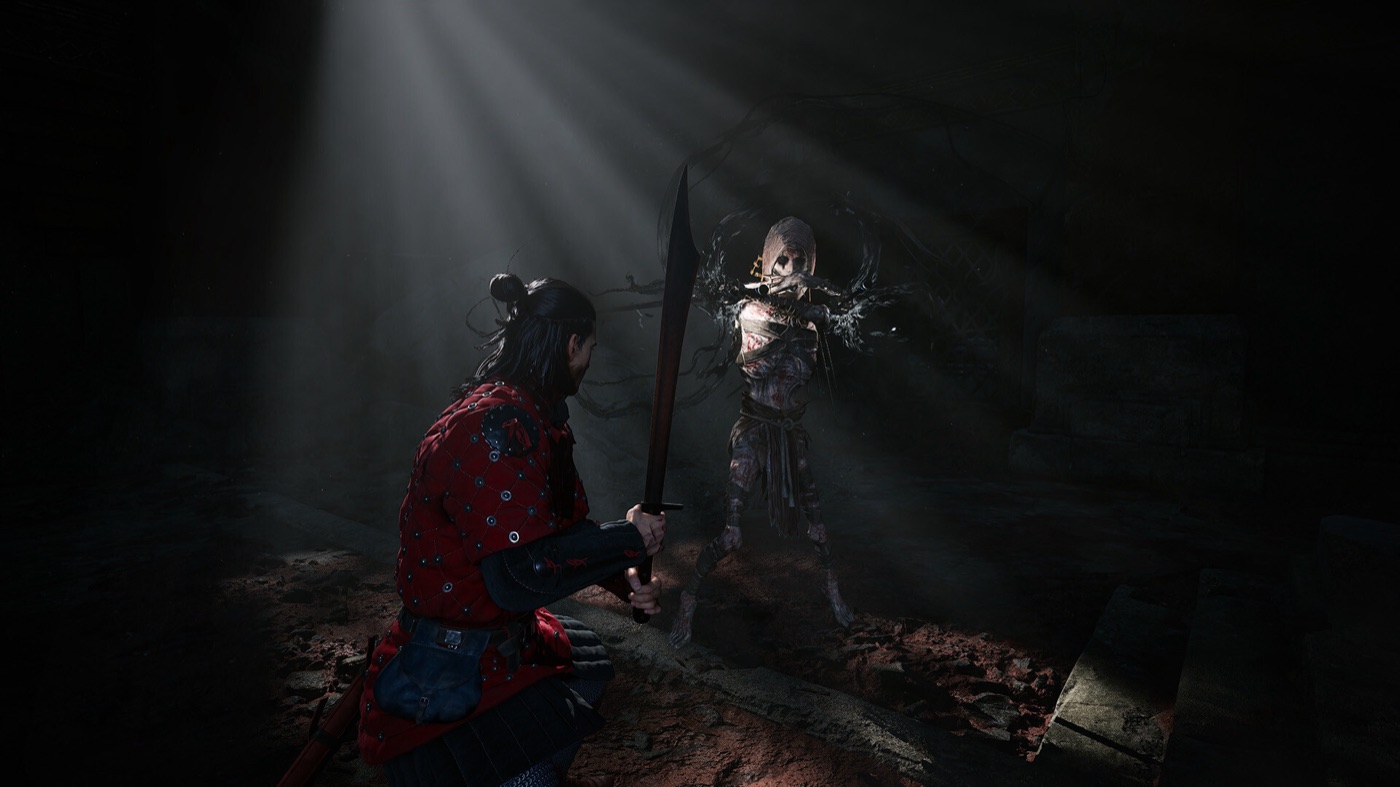
Quest triage: what to do now
| Quest signal | Action | Why |
|---|---|---|
| Named person asks for immediate help | Check the Prologue or current region checklist. | Relationship and timed tasks are the most likely to close. |
| Court Activity is adjacent to your story path | Take it in the same loop. | It advances a useful meter without a second trip. |
| New region, distant reward | Bookmark it and keep moving. | The reward may be good, but the travel cost is hidden time. |
| Choice with an ending hint | Save, record the outcome and stop for the day. | Do not let a later combat overwrite the branch you intended. |
| Unknown objective with no visible deadline | Test it only after a clean save. | Unclear mechanics are a poor place to spend your only route window. |
Preparing for the final push
Once the story starts pointing toward the last stage, stop treating the open world as an unfinished checklist. Complete the relationships, gear route and Court preparation that your chosen ending needs, then make a dedicated final-preparation save.
- Review the All Endings Guide before the final quest.
- Confirm your chosen vassal and relationship objectives are complete.
- Spend remaining skill points only after you know the next combat demands.
- Keep one save before the last irreversible conversation and one after it.
- Do not assume a completed map equals a completed ending route.
This v1 page is a strong progression hub, not a replacement for every individual side-quest page. We will only split a quest into its own URL when indexed search questions show that the standalone page adds real value.

Verification note The game's release, setting and day/night premise are checked against the official Steam record and publisher material. Court and route counts are editorial guide data and remain subject to live-game verification and patch changes.