GEAR · COLLECTION
The Blood of Dawnwalker Legendary Equipment
Legendary gear is worth the detour only when the route fits your save. This is the complete list by slot — where each piece is, which quest or lair produces it, and what the trip actually costs you in time before your next objective.
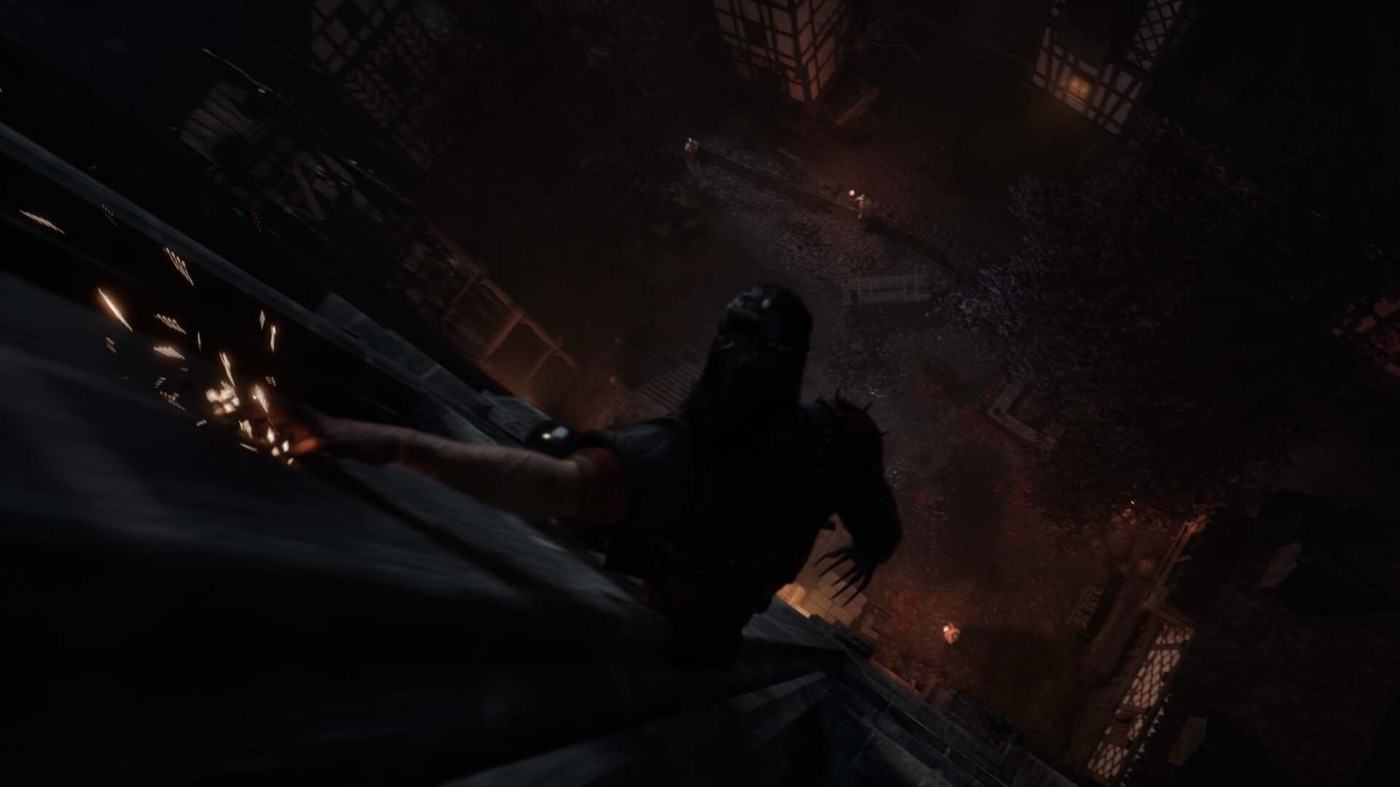
Legendary gear arrives three ways: as a reward for a named quest, from a boyar you defeat, or from a hidden chest or treasure map. Only a handful are sold. Most can be obtained once, so decide before you commit a save to a route you might want to reload.
How legendary gear is acquired
Legendary items are not a loot table you can farm. The set divides into three acquisition types, and each one asks a different question before you commit.
| Source type | Examples | The question to ask first |
|---|---|---|
| Named quest reward | Durandal, Imbued Sword of St. Mihai, the whole Arbiter set, Runic Enchantment, The Hand of Fate | Is the quest already on my route? If not, the item costs a whole detour plus its time segments. |
| Boyar or miniboss drop | Ambrus's Cuirass, Vrakhiric Bracers, Gladius | Which of the three vassals leads to it, and does the drop survive the choice you make afterwards? |
| Hidden chest or treasure map | Ring of Focus, Isbrand's Greaves, Knightly Ring, Coat of Darkened Scales | Can the chest be opened on a route you are already walking, and do you have the key or the Focus Mode step it needs? |
| Vendor purchase | The Purge, The Prizewinner | Do you have the denarii and the merchant unlock? Shopping costs no story time, which makes these the cheapest pickups in the list. |
One systemic warning: several pieces sit behind a choice. Ancient Greaves come from choosing to destroy the Font of Life; Pieter's chest only opens if you agreed to help hunt the treasure; Vicho's Cross only exists if you confront Vicho after The Good Samaritan. Check the branch before you treat an item as guaranteed.
Chestpieces and trousers
| Item | Where it comes from | Why it is worth tracking |
|---|---|---|
| Ambrus's Cuirass | Reward for defeating Ambrus during The Gilded Gauntlet. | A boyar drop that leans into aggressive vampiric play. |
| Isbrand's Plate | Chest in the same room as Isbrand during Lacra's Hive and Seek — loot it before you free him and leave the area. | Easily missed because it shares a room with the quest objective. |
| Coat of Darkened Scales | Upper floor chest during Sanzhana's Tiny Dancer; a second copy comes from the Bandits' Treasure Map: Rockfalls – Split Rock. | One of the few legendaries with a repeatable source. |
| Enhanced Armour of the Arbiter | Reward from A Bulwark Against Darkness, crafted with the uriash blacksmith. | One of three Arbiter pieces, and part of the Regalia achievement. |
| Runic Enchantment | Automatic reward during the final quest of Anca's chain, Stronger Than Achilles. | Guaranteed if you finish the chain — no chest hunting at all. |
| Ancient Hero's Armour | Side quest A Hero's End, in the ruins beneath Svartrau. Loot the coffin in the back room past the Fallen Witch. | Pairs with The Hand of Fate in the same ruin, so one trip can produce both. |
| Pieter's Garb | Buried Past: agree to help Volk hunt the treasure, then dig up Pieter's chest in the Secret Glade west of Parlita and follow the journal to the Maragir monastery. | A light chest piece tied to the quest's treasure branch — refusing the hunt closes it. |
| Isbrand's Greaves | Chest at the Kobold Nest. | An open-world pickup rather than a quest reward, so it can be collected early. |
| Enhanced Shin Guards of the Arbiter | Reward from A Bulwark Against Darkness. | Second Arbiter piece; arrives with the chest armour. |
| Ancient Greaves | Stronger Than Achilles — choose “We should destroy it” at the Font of Life. | The choice that costs you the Font of Life perk is the one that pays these out. |
Boots, bracers and hands
| Item | Where it comes from | Why it is worth tracking |
|---|---|---|
| Ancient Footwear | Xanthe's Excavations: Bloodied Dagger. Fight through the ruins, then open the locked chest in the boss room by using Focus Mode to highlight the Ritual Dagger on the left side and casting Compel Soul on the body in front of the chest. | The most puzzle-like pickup in the list — the chest will not open without the ability step. |
| Enhanced Boots of the Arbiter | Reward from A Bulwark Against Darkness. | Third Arbiter piece; completes the armoured half of the set. |
| Ancient Hero's Vambraces | Reward from Xanthe's Transports: When Two Dogs… | A Court activity reward rather than a quest one, so it fits an activity loop. |
| Vrakhiric Bracers | Treasury room chest inside Lunar Manor, after defeating Bakir in The Lunar Game. | Snap it up before you leave the manor; the room is behind the boss. |
| Enhanced Bracers of the Arbiter | Reward from A Bulwark Against Darkness. | The fourth Arbiter piece — the set is one crafting trip, not four hunts. |
| Wolven Bracers | Follow the blood trail from the road near the Woodcutters' Camp shrine to a clearing with wild animals. | A short open-world detour with no quest prerequisite. |
Swords
| Sword | Where it comes from | What it is for |
|---|---|---|
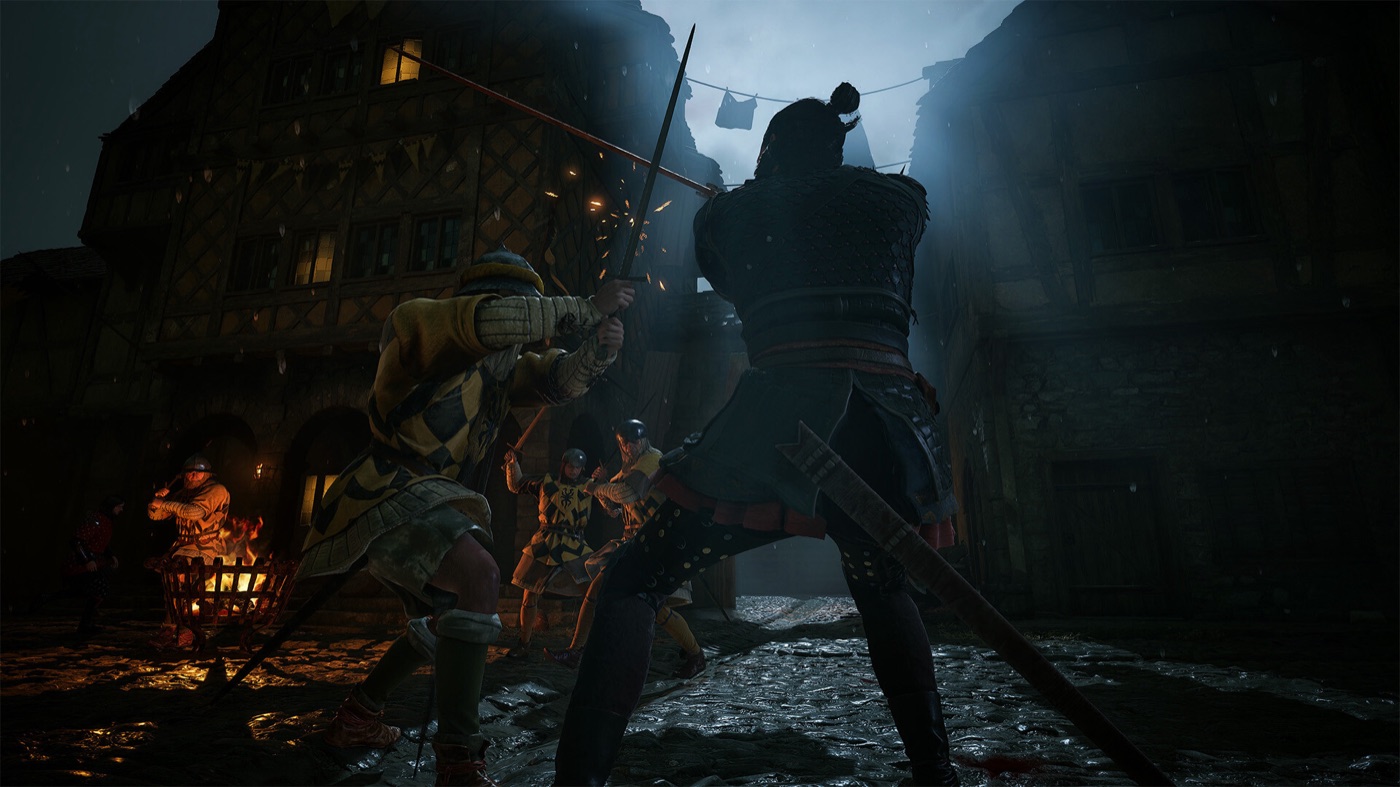
| Durandal | Cursed Chasm quest reward. Begin it at the broken bridge west of Briar Sloughs, drop into the ravine, clear the creatures and loot the destroyed cart at the bottom. | One of the earliest legendaries you can realistically chase. |
| Imbued Sword of St. Mihai | Reward from Forge It Anew, the end of the A Monk and a Saint chain. Find the broken sword, collect three shards plus the hilt, then return to the uriash blacksmith. | The strongest sword route in the game, and a required piece for the sword achievement. |
| The Hand of Fate | A Hero's End. Open the stone chest in the ruins beneath the abandoned building on Carpenter's Row in Svartrau using the Stone Key from the Cathedral Treasury. | A legendary shortsword with a fixed in-quest location; grab the Ancient Hero's Armour on the same trip. |
| Erkas' Sword | Champion of Old. In the ancient ruins beneath Svartrau, find the strange mural to start the quest, then defeat Erkas the Repenter. | A miniboss reward that shares a location with A Hero's End. |
| Gladius | Beast of Balaur's lair. Defeat the miniboss, then use Shadowstep or Planeshift to scale the wall and open the chest at the top. | The lair also holds a phial of Brencis's blood that teaches Piercing Shriek — do not leave after the sword. |
| The Vrakhir | In the tunnels during The Night of Horrors, lodged in the chest of a dead creature. | Arrives on a quest you are likely running for other reasons. |
| The Purge | Bought from the Silver Trader in Svartrau. | A purchase, not a hunt — the cheapest legendary in the game in story time. |
| The Prizewinner | Bought from the Uriash Hermit, who will only speak to you after you begin A Bulwark Against Darkness or Forge It Anew. | A vendor unlock, which means the errand is a quest flag rather than a fight. |
| The Kingslayer | Reward from the Bandits' Treasure Map: Riverbank. | Treasure maps are the low-effort legendary source: seven of them exist, and three hide gear. |
Amulets and rings
| Item | Where it comes from | Why it matters |
|---|---|---|
| Mindbrace Amulet | Reward from Xanthe's Excavations: Malevolent Presence. | An activity reward, so it costs no extra trip if you are already clearing Xanthe's markers. |
| The Relic of St. Dasius | In Howling Keep during Xanthe's main quest The Cycle of Love. From the courtyard entrance it is the top-right room, opened after collecting lanterns from the others. | Easy to walk past — the lantern puzzle is the gate. |
| Fear of the Wild | Chest in the burrow area during Burrow Sorrows. | Sits inside a quest location, so it is a five-second detour rather than a route. |
| Vicho's Cross | In Vicho's house, after completing The Good Samaritan and confronting him. | Tied to a chain that also carries an achievement. |
| The Shredder | Chest at the Soldier Picket location, open only once you reach Infamy Level 2. | A gated open-world chest — check your Infamy before making the trip. |
| Amulet of Crimson Steel | Reward from the Ancient Circle: Southern Swamps activity. | One of the few pieces delivered by an Ancient Circle rather than a quest. |
| Ring of Focus | Chest in the south-east corner of Parlita. | A camp-free pickup inside a village you will visit anyway. |
| Astrologer's Ring | On the astrologer's body immediately after finishing Home Sweet Home in Silts Tower. | Sits on the far side of the dream loop, so collect it before you leave the tower. |
| Ring of the Night | Reward from Xanthe's Transports: Past Glory. | Another activity reward that folds into a Court loop. |
| Ring of Quick Strikes | The Highland Grave. Follow the road west of Rockfalls until a quest marker appears, take the Scholar's Map and Key, then open the locked room in the nearby ruins. Skipping the two uriashi guards is a valid plan. | The lock, not the fight, is the real requirement. |
| Knightly Ring | Reward from the Bandits' Treasure Map: Tantari Woods. | Completes the treasure-map set alongside The Kingslayer and the second Coat of Darkened Scales. |
| Arbiter's Ring | Near the southernmost part of Tantari Woods. Follow the sloping path down until you meet a kobold group, then open the chest. | The easiest pure-accessory legendary to slot into a southern sweep. |
Volk's Sword, from the Buried Past betrayal branch, is an epic-quality greatsword. It is a fine weapon, but it does not fill a legendary slot and does not count toward the eight-slot achievement. The same distinction applies to any gold-named item you find that is not labelled Legendary in your inventory.
The eight-slot achievement
Gear of the Gods asks you to fill every equipment slot of one set with legendary items. It checks what you are wearing, not what you built, so the practical route is short: finish the St. Mihai sword for the weapon and the Arbiter set for the armour, then fill the remaining accessory slots from the amulet and ring list above. You do not have to keep them equipped — equip a full eight-slot set for a few seconds to trigger the check, then swap back to what you actually play with.
Two habits make this much easier. First, hold on to legendary pieces you do not intend to wear; inventory space is cheap compared to re-walking a quest. Second, note whether the piece belongs to a day or night set, because the check is per set rather than per character.
Deciding which to chase
A named item is only an upgrade if it reinforces the plan you already have. Three questions settle it.
- Does it complete a build you actually play? A vampiric health piece on a pure daytime Witchcraft save is a trophy collection at best. See Best Skills & Builds for what each build wants.
- Does it advance a quest you are already on? Runic Enchantment, the Arbiter pieces and the A Hero's End pair all arrive while you are doing something else. Those are free in route terms.
- What does the detour cost in segments? A chest across the map and a merchant purchase in Svartrau both end with a legendary item, but only one of them spends your clock. Vendor purchases and treasure maps are the two cheapest sources in the list.
Keep a manual save before any unique hand-in. Most of these items cannot be re-obtained in the same run, and several sit on branches.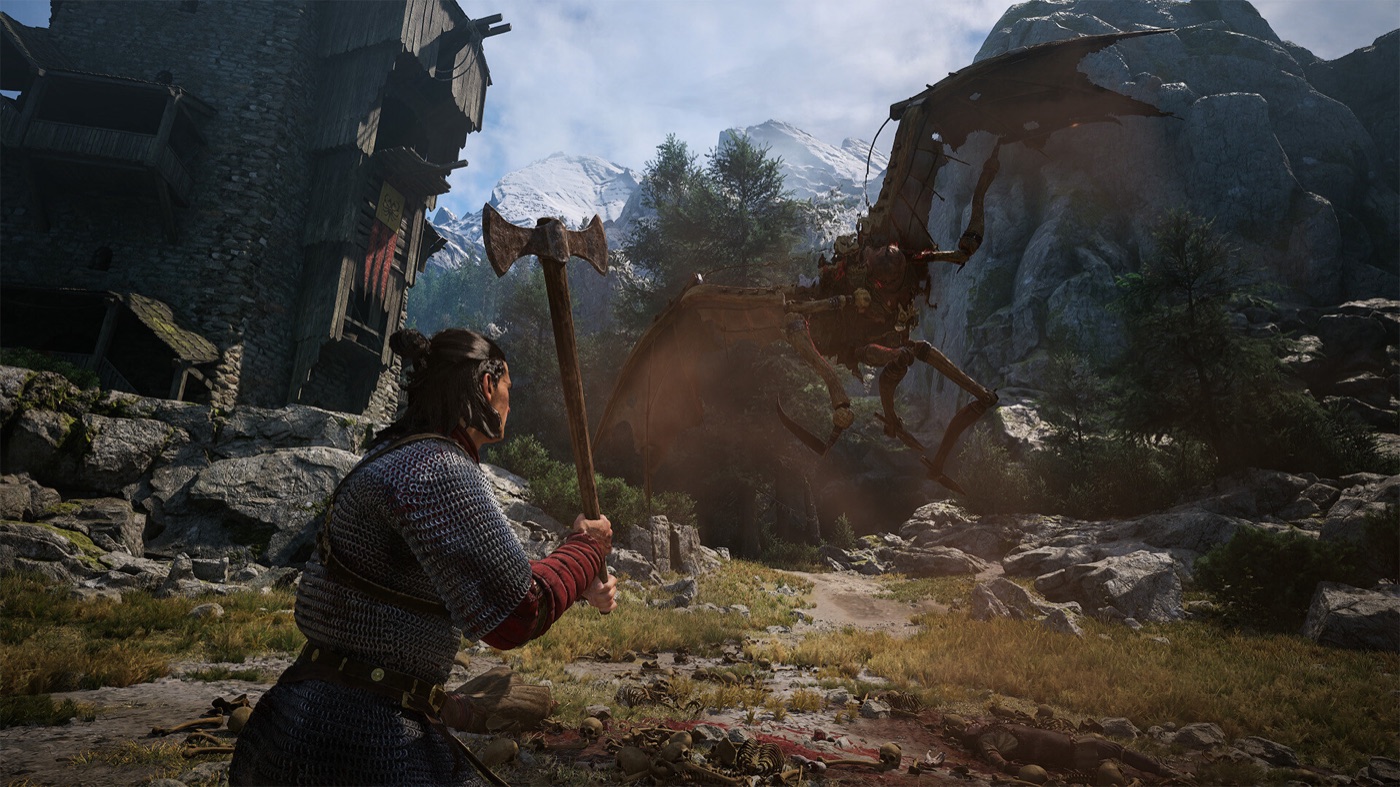
Legendary route checklist
- Decide which build the piece is for before you travel, not after you arrive.
- Buy The Purge and The Prizewinner outright — vendors cost no story time.
- Run the Arbiter crafting quest once and collect four set pieces, not four separate hunts.
- Check the branch requirement before a chest: help Volk, destroy the Font of Life, confront Vicho.
- Keep legendary pieces you will not wear, and equip eight of them briefly for the completion check.
- Save before every unique quest hand-in that produces a legendary reward.