MAIN STORY · COURT SYSTEM
The Blood of Dawnwalker Court Activities
Court Activities are the practical bridge between the open world and the three vampiric vassals. This reference covers the 41-activity route, the activity families behind each marker and the time rules that make a short loop better than a heroic detour.
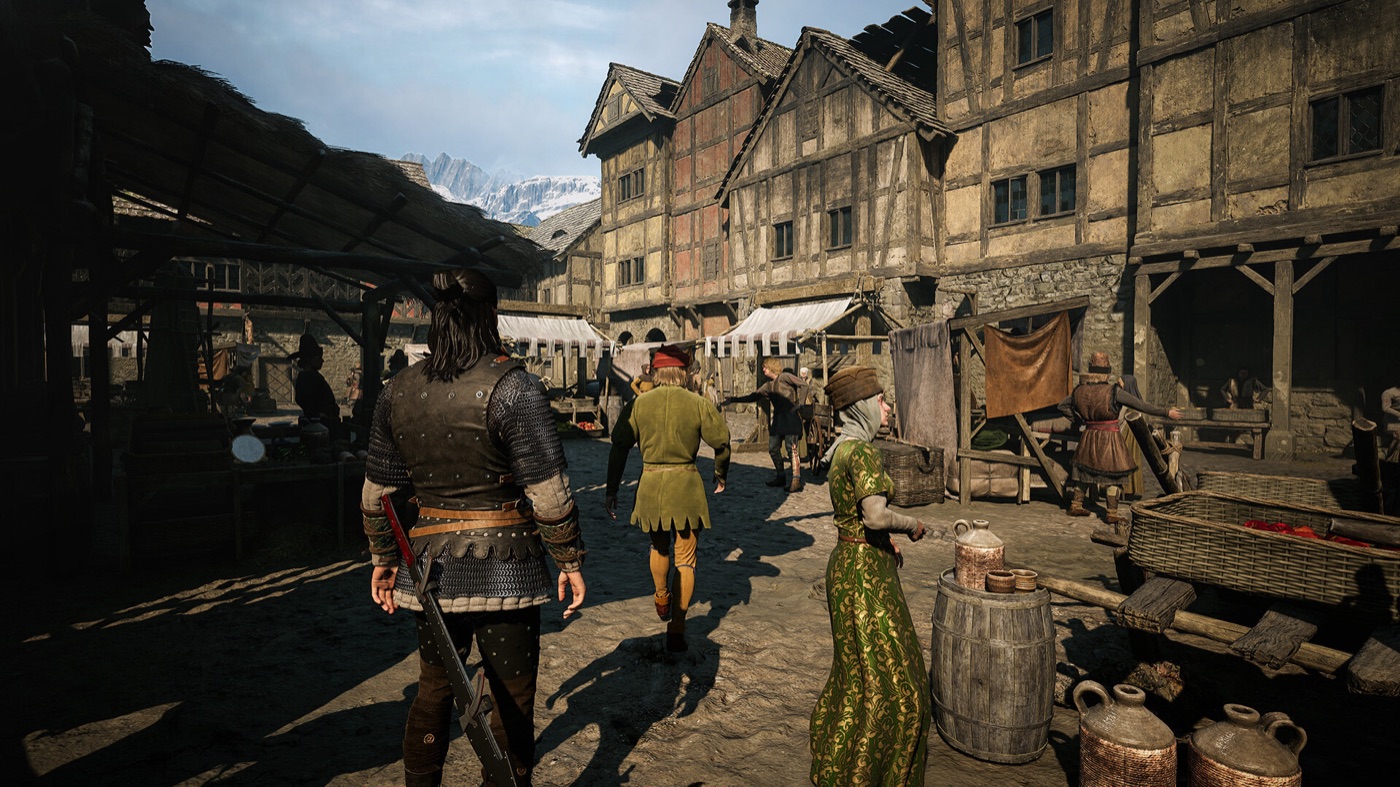
Use the Court menu to choose a vassal, then group nearby activities into one loop. The current launch reference counts 41 activities; use the in-game Court screen as the final authority if a marker or threshold differs in your save.
How The Blood of Dawnwalker Court Activities work
Each activity is a compact objective tied to one of the three vassals: Ambrus, Bakir or Xanthe. The route normally asks you to reach a camp, transport, cellar, prison or excavation, defeat or investigate what is there and then complete a small interaction. Completing enough of the right activities raises pressure against that vassal and moves the corresponding boss route forward.
Most outdoor camps and road encounters in the current route reference cost 3 time segments. Cellar activities are listed at 1 time segment. Hidden story-linked activities can use their own cost, so read the prompt instead of assuming every yellow marker is equal.
The three vassal groups
| Vassal | Activity families | Best use | Route warning |
|---|---|---|---|
| Ambrus | Transports, Collectors, Prisoners, Cellars, Dungeons | Learn the Court loop with short, readable objectives. | Do not cross the whole mire for one camp. |
| Bakir | Headhunters, Transports, Distilleries, Pillories | Group city, road and village objectives around a single return route. | Some rescued people open a follow-up teacher or stash. |
| Xanthe | Recruiters, Excavations, Transports, Blood Guards | Arrive with a combat and gear plan; several sites have extra loot. | Hidden activities and documents can be easier to miss than the marker suggests. |
The exact threshold required to draw a vassal into a boss confrontation is best treated as a route check, not a universal number. Current guide coverage reports roughly three quarters of a group as a practical target. If the Court screen has not opened the confrontation, complete the next nearby activity rather than backtracking to an old marker.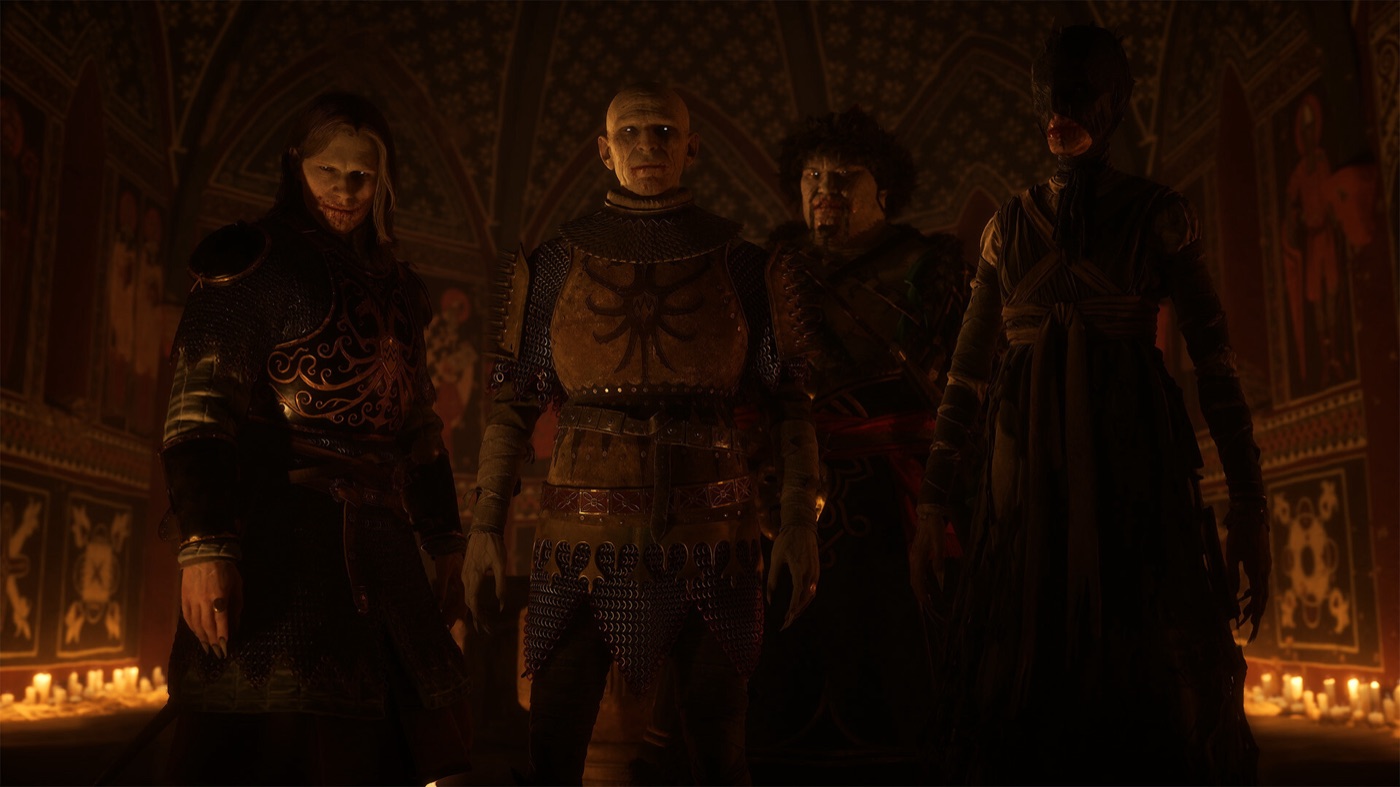
A safer activity route
Start with the nearest Ambrus cluster
Use transports, collectors and prisoners to learn the marker language. Cellars are efficient when they sit inside your current settlement route because their listed cost is shorter.
Return to Court after each loop
Do not assume the next confrontation is live just because you completed an activity. Re-open the Court screen and confirm the new objective.
Move to Bakir when the route opens
Combine Headhunters, Distilleries and Pillories in the same regional pass. A rescued NPC can generate a sub-quest or a future teacher, so inspect the result before leaving.
Save before the hidden relationship chain
Activities such as A Mother's Plea are tied to side-quest sequences and can be missed. Keep a manual save before entering the alley, village or dialogue that begins the chain.
Take Xanthe with preparation
Recruiters, excavations and Blood Guard camps can hide legendary items, documents or keys behind an extra interaction. Bring the ability or Focus Mode habit you need before making the trip.
How to max a vassal's anger meter
Every sabotage activity you finish pushes that vassal's anger meter up and raises your overall Infamy in the same action. The meter — not a fixed number of markers — is what unlocks the confrontation, so read the Court screen instead of counting activities. Most objectives only surface as a question mark on the map once you walk close enough to reveal them, which is why a region can look empty on one pass and busy on the next.
You do not need every activity in a vassal's list to max the meter. Clear the nearby objectives until the game invites you to the confrontation, then move on; anything you leave behind still counts toward Infamy, including after that vassal is already dead.
| Vassal | What actually raises the meter | Families to lean on |
|---|---|---|
| Ambrus | Freeing his prisoners, interrupting his leech collectors, wrecking the stored blood and disrupting his transports. | Cellars and Transports — short, readable tasks that usually sit close to your current route. |
| Bakir | Defeating the soldiers he sends after the Manumits, emptying the pillories, wrecking the distilleries and seizing his payoff transports. | Pillories and Distilleries, grouped into a single city or village pass. |
Destroying the marked barrels or supplies is the shared step at almost every sabotage site, and the interaction normally only becomes available once the guards are dead. If an objective will not complete, clear the remaining enemies and sweep the site once more before fast-travelling away.
Plan the two vassal passes separately. Ambrus' route is built around taking his blood supply away from him, so cellars, transports, collector camps and holding dungeons all feed the same meter. Bakir's route targets his grip on the settlements instead: his hunters, his public punishments, his distilleries and the goods he ships to buy loyalty. The Uriash village drive is a persuasion-or-force choice rather than a demolition task, so read the prompt before you commit.
Ambrus reference
The Ambrus side of the Court screen is the best place to learn the basic pattern. The route reference includes:
- Transports: Bloody Business and Roadside Surprise.
- Collectors: Bounty of the Mire, Wetland Helpers and Unsavoury Solutions.
- Prisoners: Lucky Crossing and Fate's Mercy.
- Cellars: Seeing Red, Uninvited and Trouble Brewing.
- Dungeons: Judge and Executioner, Evil and Convenience and Twists and Turns.
Several of these objectives are “defeat and destroy” tasks. The important beginner detail is that the destruction interaction usually comes after the enemies are dealt with. Use Focus Mode when a key, note or barn door is not obvious.
The Gilded Gauntlet: poison timer and Ambrus choice
The Gilded Gauntlet opens after Smoke and Ashes once Ambrus has been angered through his Court Activities. The duel must take place at night, but the main quest itself does not expire merely because you leave it in the journal.
Once you finish The Bittersweet Toast, you have exactly 48 time segments (3 days) to use Iulian's poison plan. Ringing the bell advances time by 2 segments, so begin the summon no later than 2 segments before sunrise on the third day. Miss that window and Ambrus recognizes Iulian's condition, brings another victim and the planned ambush fails.
If you added the Tatzelwurm Gland to the drink, the poison steadily drains Ambrus during the duel; you can survive by evading until the finishing scene begins. Do not drink from the poisoned Iulian or Ambrus casually: Coen's health will also fall until only a little over half of the final health segment remains. Drinking directly from Iulian leaves the poison active for 10 time segments after the duel, with no immediate cure.
Draining Ambrus grants Scarlet Shield, or improves it by one point if Coen already learned it from a blood vial, and sends Coen to Anachora. You can then invite the remaining part of Ambrus into Coen. Accepting adds occasional commentary and makes Ambrus available to help in the later fight against Brencis; refusing does not block a reported ending.
Bakir reference
Bakir's activities mix direct fights with people who can open a second layer of content. The route reference includes Matter of Honour, Silent to the Grave, Smoke Them Out, Curious Shipment, Fools' Gold, Ends and Means, Coercion and Duress, Offshoot, Out of Love, Familiar Face, Old Hand and A Mother's Plea.
Read the Letter of Reprimand or find the distillery in Parlita, clear the yard and destroy the still inside the barn. It costs 3 time segments and advances Bakir’s Court pressure. The dedicated walkthrough covers the route and final interaction.
Some Bakir encounters offer a choice after the guards are defeated. Letting a person go, helping a prisoner or investigating the nearby stash can create a treasure map, a new sub-quest or a future Swordmastery Teacher. Read the post-activity text before fast-travelling away.
The Lunar Games: kill or drain Bakir?
Bakir is a late, hard-hitting Court target; around level 30 is a useful readiness benchmark rather than a requirement. After winning The Lunar Games confrontation, killing him ends the encounter without granting an extra ability. Draining him adds Corruption progress, sends Coen through Anachora and unlocks Shadowstorm, a Vampirism ability that briefly slows the action around Coen. The kill-or-drain choice does not redirect the main ending route.
Return to the treasury and loot Bakir's body for his legendary medium chest piece; draining him does not cost the armour. Check the wall chests for the legendary Vrakhiric Bracers and other valuables, then recover Farkas's ring before leaving if you accepted his help.

Xanthe reference
Xanthe's route is split between recruitment, excavation, road and Blood Guard objectives. The named activity set includes Taste of Power, Just a Bit More, Come Home, Unsealed Secrets, Malevolent Presence, Bloodied Dagger, Fair Maiden, Chosen One, Past Glory, When Two Dogs…, Unquenchable Thirst, Teach with Pain, Loophole, Home Sweet Home and the related Cycle of Love chain.
Excavation and hidden-house objectives deserve extra time in your plan. Use Focus Mode to find notes, ritual objects and interactions. A camp that looks complete after the boss may still contain the item that opens a legendary chest or marks another activity.
Activity checklist by action
| Marker type | First action | Common extra | Typical route cost |
|---|---|---|---|
| Transport | Find the moving group on the road. | Loot a document or treasure-map clue. | 3 segments |
| Camp / Collector | Clear enemies, then destroy the marked supply. | Focus Mode note, prisoner or chest. | 3 segments |
| Cellar | Enter the house and clear the lower room. | Crates and an NPC upstairs. | 1 segment |
| Excavation | Search the ruin and scan yellow notes. | Boss-room chest or legendary boots. | 3 segments |
| Hidden activity | Follow a side-quest or tower trigger. | Flashback, secret ending or unique ring. | Read prompt |
Court mistakes that waste the clock
- Starting a 3-segment activity when a 1-segment cellar is already on your return path.
- Leaving after the boss dies without checking for a chest, document or Focus Mode interaction.
- Completing one activity for each vassal in one day instead of raising one route deliberately.
- Assuming a hidden side-quest activity will remain visible forever.
- Using a route guide's percentage as a hard game rule instead of reading your own Court screen.
Counts and thresholds can change with patches or differ by progression state. This page is a route reference; your live Court menu is the authority for which confrontation is currently available.