EXPLORATION · INDEX
The Blood of Dawnwalker Map & Locations
Vale Sangora is a route problem before it is a map. This index covers how region scaling works, where the Shrines and towers are, which landmarks named quests send you to, and the regional loop that collects towers, banners, villages and transports in one pass instead of five.
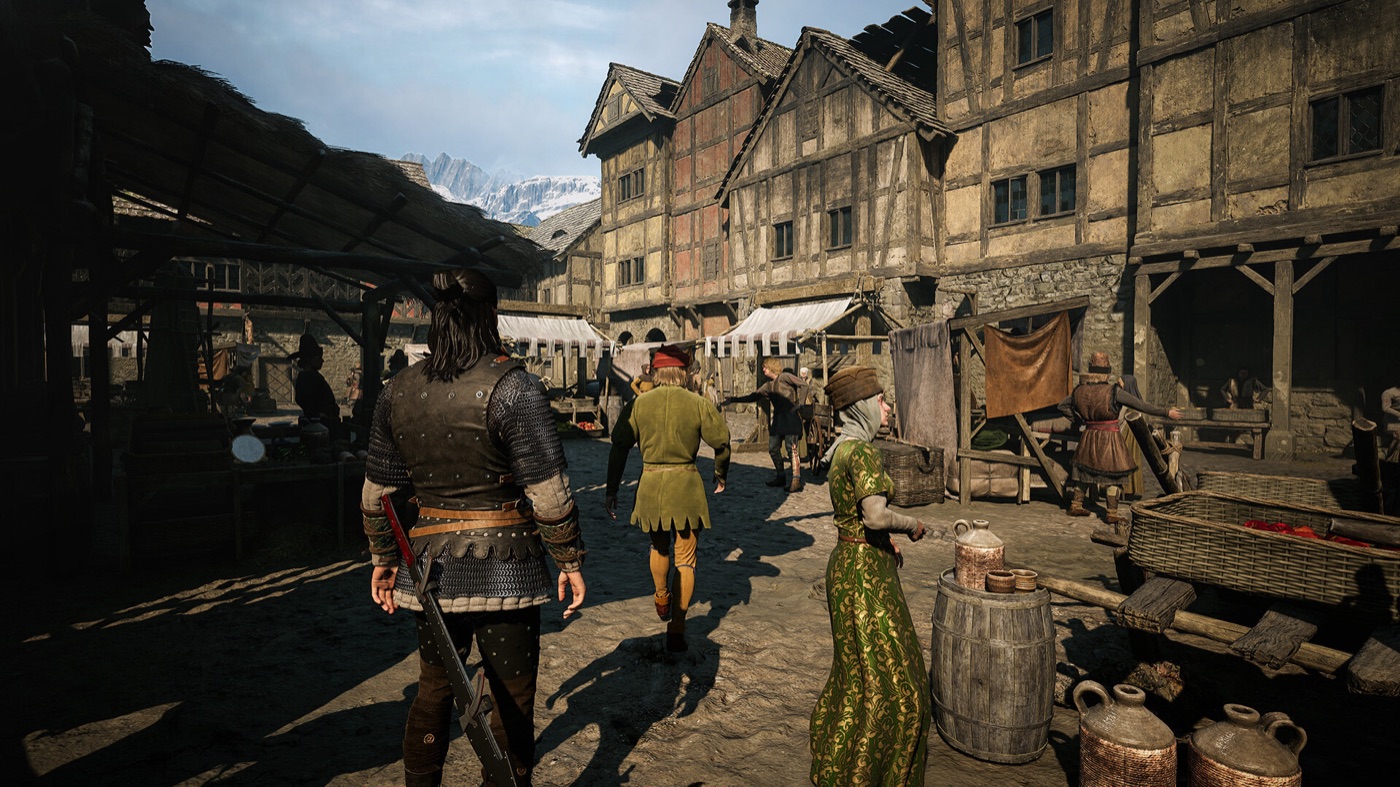
The whole map is visible from the start, but the activities on it are not. Walking is free; the first time Coen enters a region its difficulty range is set and then stays fixed. Open one region at a time and delay the deep south until your build and gear can carry it.
How the map and region scaling work
Two rules govern every decision on this page. The first is that discovery is not the same as knowledge: entering a new area reveals activity markers, but what each marker actually is comes from clues, locals, or walking up to it. The second is that first entry has permanent consequences. An area's minimum and maximum difficulty are set from Coen's level when he first arrives, and that range then stays fixed — the region does not rescale around you if you level up later.
Official guidance also notes that challenge generally increases as you travel south, which supports a north-to-south bias rather than a mandatory route. Put together, the safe habit is a two-pass method: pass one reveals nearby leads and compares destinations, and pass two commits only to the activity that advances the build, ally or story goal you currently care about.
The clock is a separate system. Walking, looting and scouting do not advance the 30-day countdown; activities and quest steps do, and the game shows an hourglass cost before you agree to it. Never assume a marker is free just because reaching it was.
| Stage | Where to focus | Why |
|---|---|---|
| 1 | Areas already opened by your current route | You learn the marker language and pick up nearby discoveries without locking several new region ranges at once. |
| 2 | Svartrau and its districts | The widest selection of specialist merchants, teachers and vendors. This is your resupply anchor. |
| 3 | One adjacent region at a time | Entering reveals indicators and fixes the region's difficulty range in the same moment. |
| 4 | The deeper southern regions | Challenge generally climbs heading south. Push it once your build and gear are stable. |
The named regions and what is in them
Quest names, Shrines and manual sources between them map most of the valley. This is the working index — the region, the landmark worth remembering, and the reason to go.
| Region | Landmarks worth remembering | Why you go |
|---|---|---|
| Briar Sloughs | Briar Sloughs Tower, Briar Sloughs Crossing Shrine, the broken bridge and ravine west of the region | The Cursed Chasm chain and Durandal; the Forager manual; and the western path out of Vale Sangora that ends the run early. |
| Boar's Back | Parlita village, the waterfall cavern south-east of it, Boar's Back Tower, Parlita Woods Shrine | Arbiter's Medallion behind the waterfall; the Ring of Focus in Parlita's south-east corner; Burning Blood from the Ancient Circle south of Parlita Woods Shrine. |
| Svartrau Outskirts | Roads and woodland between the city and the northern wilds; the flowerbed of glowing moths | The sanzhani chain starts here; the broadest crossroads for grouping headhunter and transport objectives. |
| Svartrau City | Cathedral Complex and Cathedral Treasury, West Gate, Manumit hideout, market, north-west general store, armourers, silver trader | Teachers Ursul, Ocha and Constantin; the Counterattack manual route; the Stone Key for The Hand of Fate; and Xanthe's early Cathedral fight at night. |
| The Silts | Silts Tower, Lunar Manor, bandit camp | Mercurial Fervour and the Astrologer's Ring at the tower; Bakir and Vrakhiric Bracers in Lunar Manor; the Omniblock manual at the bandit camp. |
| Tantari Woods | Tantari Tower, the armorer in Tantari, the southernmost stretch of the woods | Unholy Fervour from the tower chest; Arbiter's Ring near the southern tree line; soldier and bandit camps carrying Artery Strike and Walking Fortress. |
| Maragir Wealds | Maragir village, Maragir Wealds Tower and watchtower shrine, Lower Maragir Wealds Shrine, the Armorer and Vera the Witchcraft vendor | Cycle of Ruin from the tower top; the Ancient Circle east of the village for Soul Reaping; the single best Witchcraft shopping stop in the game. |
| Laslea Glen | Laslea Gate Shrine, the soldier camp just south of the glen | The Counterattack manual in the camp tent; the Kobolds' Nest south-east of the shrine for Herbal Remedies II. |
| Rockfalls | Rockfalls Tower, Rockfalls Pasture Shrine, the ruins and Scholar's Map near the mountain road | Aether Flow from the tower chest; Ring of Quick Strikes from the keyed ruins; the Rockfalls treasure maps. |
| St. Tyna's Grove | St. Tyna's Grove Tower, the Pilgrim's Trail Shrine, the bandit camp with the Witch boss, the Kobolds' Nest | Medicus I from the tower; the Lost Blood activity at the destroyed cart; Forbidden Sigils from the Witch. |
| Coward's Path | Coward's Path Shrine | The Ancient Circle west of the shrine for Cycle of Ruin; the western exit used for the early departure ending. |
| Eerie Knoll | Eerie Knoll Shrine, the surrounding bandit camp and haunted site | Adrenaline Rush from the south-east bandit camp; Unholy Vitality and Soul Reaping from the haunted site. |
Shrines and fast travel
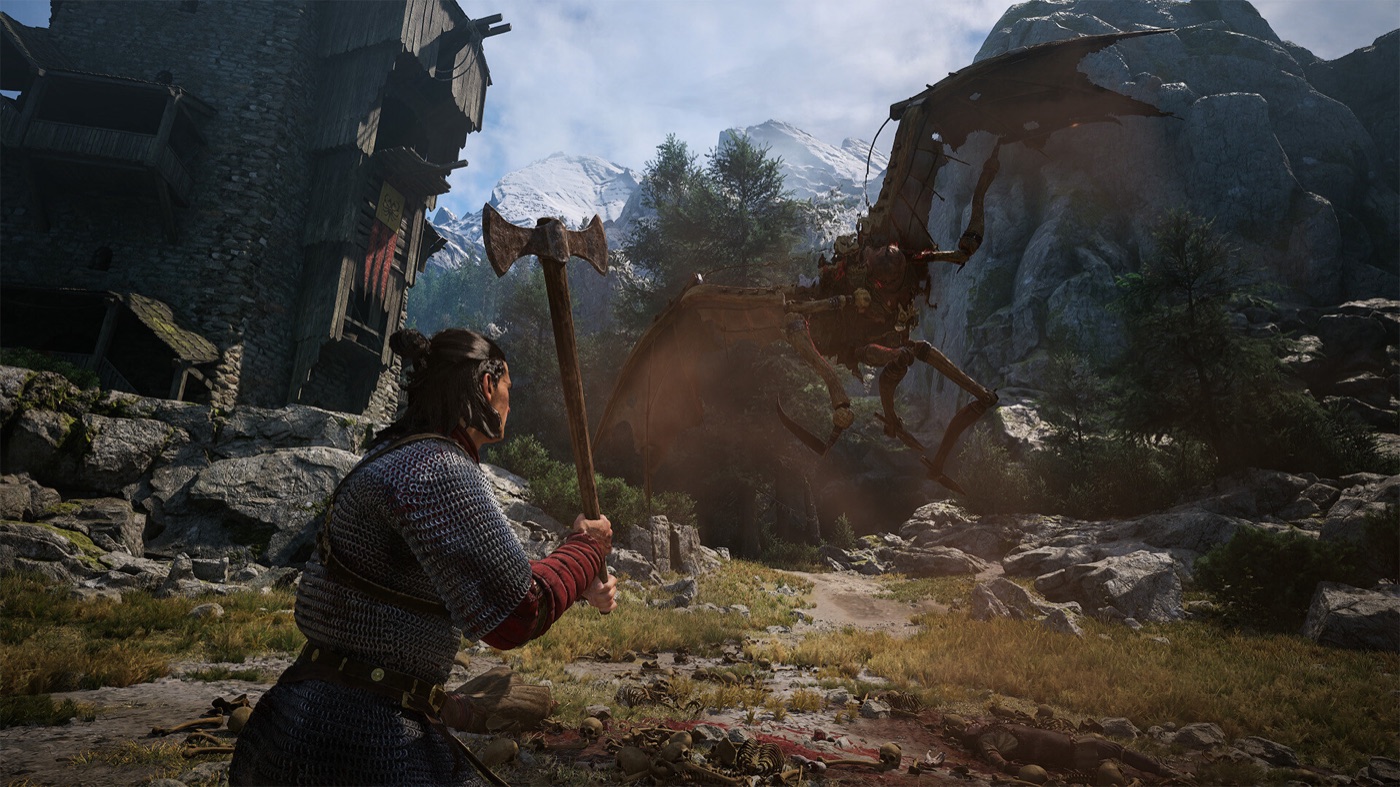
Shrines are the spine of exploration. Each one can carry three jobs at once: fast travel, perk purchasing, and an objective of its own. They come in three states, and the state matters more than the icon.
| Shrine state | What it changes | How to use it |
|---|---|---|
| Discovered | Creates a known point in your route network. | Anchor nearby points of interest around it before moving on. |
| Damaged | Needs its missing component restored before normal use. | Finish the associated local objective instead of treating it as a dead pin. |
| Usable | Supports fast travel and perk purchases. | Pair it with a manual read, a skill purchase and a return route in one stop. |
Destroyed Shrines have a catch: the statues that repair them stay off your map until you unlock their markers. The Enshrined Obsession activity in Svartrau does exactly that — enter the upper floor of the Curious House in the Neustadt quarter, inspect the table at the centre of the room and the book on its right, and the destroyed Shrines and their repair statues are added to your map. It costs one time segment and is one of the best single investments in the game.
Scouting towers
Towers are not chores. Every summit reveals the points of interest around it, which converts an unknown region into a planned loop of Shrines, Court objectives, teachers and gear. The completion achievement asks you to climb all of them and scout the surrounding areas, and the practical way to do that is at night, once vampiric movement is unlocked — the same tour then doubles as map coverage.
The named towers also carry loot in their own right. Briar Sloughs Tower holds the Forager manual near its top; St. Tyna's Grove Tower holds Medicus I; Boar's Back Tower holds a second copy of Medicus I; Rockfalls Tower holds Aether Flow; Maragir Wealds Tower holds Cycle of Ruin; Tantari Tower holds Unholy Fervour; and Silts Tower holds Mercurial Fervour — the cheapest movement upgrade in the game for a single skill point. If you climb towers for exploration anyway, you are collecting the Witchcraft tree's rarest books as a side effect.
Ancient Circles and haunted sites
Ancient Circles are daytime combat trials with real rewards. Inspect the site's mural, use Focus Mode on the altar and perform Astral Communion to begin. Starting one costs a single time segment and seals you into a fight against waves of spectral and undead enemies; clearing them opens a chest that can contain skill manuals, weapons and armour.
There are thirteen Circles across Vale Sangora, and they are the most reliable free source of Witchcraft manuals in the game. Burning Blood comes from the Circle south-west of Eerie Knoll Shrine and the one south of Parlita Woods Shrine; Soul Reaping from the Circle east of Maragir village; Soul Stigma from the Circle north-east of St. Tyna's Grove Tower Shrine; Cycle of Ruin from the Circle west of Coward's Path Shrine; Mercurial Fervour from the Circle north-east of Briar Sloughs Crossing Shrine. The Amulet of Crimson Steel comes from the Southern Swamps Circle.
Haunted sites work the same way. Unholy Vitality and Ravenous Flock sit at the site south-west of Eerie Knoll Shrine, and Soul Reaping has a second source at the site south-west of Ruined Hut Shrine. Because Circles are daytime activities, route them while Coen can use Witchcraft and combine the fight with a nearby Shrine or tower rather than spending a second trip.
Read the hourglass cost before activating an altar. Combining a Circle with a Shrine restoration and a nearby Court objective in the same loop is the difference between a profitable trip and three separate ones.
Named locations quests send you to
| Location | Where it is | What it holds |
|---|---|---|
| Curious House | Upper floor, Neustadt quarter, Svartrau | Working Her Magic and Enshrined Obsession — one segment each, and between them the Burning Blood manual and the destroyed-Shrine markers. |
| Howling Keep | Xanthe's mansion | The Relic of St. Dasius in the lantern-lit side rooms during The Cycle of Love; a third source of Cycle of Ruin. |
| Lunar Manor | The Silts | Bakir's confrontation and the Vrakhiric Bracers in the treasury room afterwards. |
| Cathedral Treasury | Svartrau Cathedral Complex | The Stone Key that opens the ruins chest holding The Hand of Fate. |
| Ruins beneath Svartrau | Reached through the Cathedral and A Hero's End | Ancient Hero's Armour from the coffin room and The Hand of Fate from the stone chest on Carpenter's Row. |
| Aurelius Tower | Northern route, tied to Home Sweet Home | The dream loop, the Astrologer's Ring afterwards, and the cutoff that Who Pulls the Strings hands over to. |
| Beast of Balaur's lair | Mountain route | Gladius in a chest at the top, plus a phial of Brencis's blood that teaches Piercing Shriek. |
| Secret Glade | West of Parlita, near the Giant's Pawns shrine | Pieter's chest and the Maragir monastery journal lead for Pieter's Garb during Buried Past. |
The regional loop that works
Anchor at a Shrine
Start from a usable or restorable Shrine and identify the return path before heading toward a distant marker.
Choose one primary objective
Make the quest, Court activity, teacher or gear lead the reason for the trip. Everything else in the region is a nearby bonus, not a new cross-map obligation.
Take the scouting opportunity
Climb the tower or clear the Circle if it improves the map and the next route. That is how towers, banners, villages and transports get collected without dedicated trips.
Record the services you found
When you meet a real vendor or teacher, note the marker, the time-of-day condition and the stock state before treating it as a reusable entry — merchant inventory rotates with the story day.
Fast travel is the payoff. Every Shrine you open shortens every later side quest in that region, which is why the map page and the clock page are the same page in practice.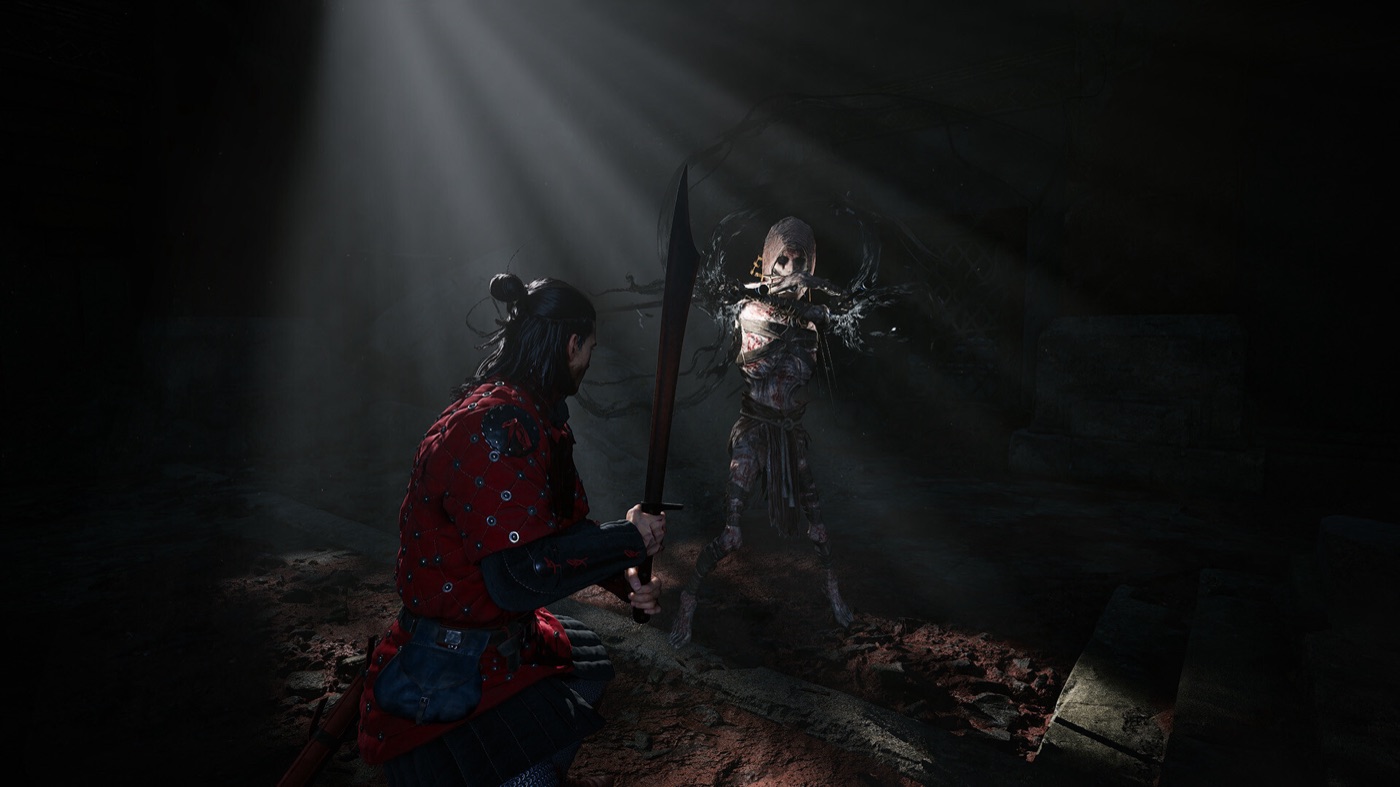
Exploration checklist
- Open one new region at a time; first entry sets its difficulty range for the rest of the run.
- Establish Svartrau early as your merchant and teacher anchor.
- Unlock the Enshrined Obsession markers before you start hunting Shrines seriously.
- Climb towers at night and collect the Witchcraft manuals sitting at their tops.
- Route Ancient Circles into daylight hours, and only when a Shrine or Court objective is already nearby.
- Scout before you spend. Walking is free; committing to an activity is not.