SIDE QUEST · ST. MIHAI’S SWORD
Blood of Dawnwalker: Forge It Anew Walkthrough
To complete Forge It Anew, collect three blade shards and the Broken Sword of St. Mihai, take all four pieces to the Uriashi Hermitage blacksmith, then temper the restored blade in the nearby ruins. The blacksmith’s repair is not the final step: the ritual turns it into the legendary Imbued Sword of St. Mihai.
How to start Forge It Anew
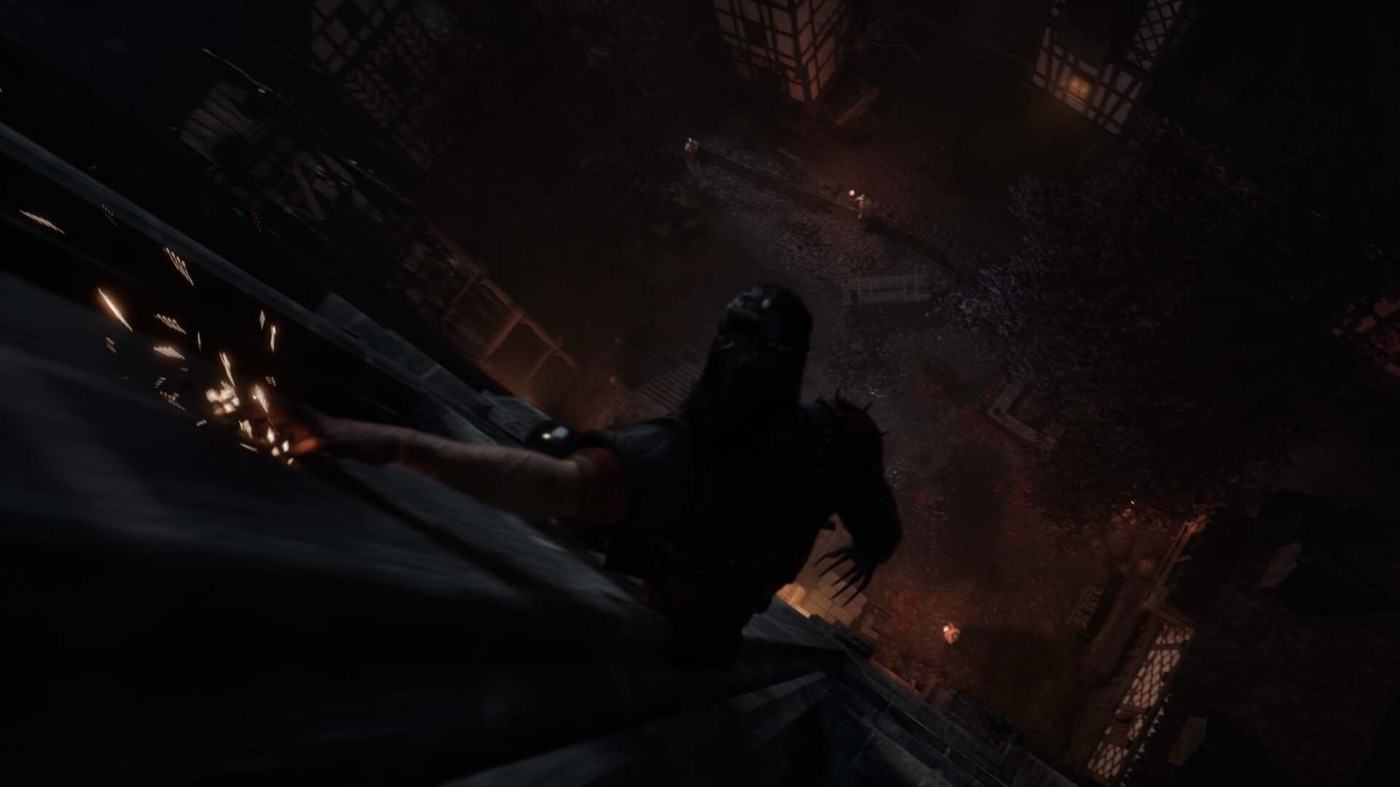
Forge It Anew is a questline that starts when you collect any of St. Mihai’s sword pieces after the Prologue, so it can begin with any shard cave you reach first. You do not need to finish A Monk and a Saint before looking for the blade shards: that quest only supplies the broken sword, the hilt piece used in the final reforging.
When you already have the broken sword, the journal route continues in Saint Mihai’s cell, where Focus Mode leads to the missing pieces. Either way, all four components converge at the same blacksmith and ritual.
The route includes Munch-Munch, Saint Mihai and a soldier camp with level-25-plus enemies. Finding the first shard does not require you to clear every remaining fight immediately.
All sword pieces at a glance
| Piece | Quest and location | What you need to do |
|---|---|---|
| Blade shard | Do Not Disturb — Maragir Wealds | Follow the campsite trail into the kobold cave. |
| Blade shard | Hostile Takeover — northern Rockfalls | Defeat Munch-Munch in the cave with a white X. |
| Blade shard | Executive Order — St. Tyna’s Grove, then the soldier camp | Investigate the emptied den and recover the stolen piece. |
| Broken Sword of St. Mihai | Night Terrors → A Monk and a Saint — Svartrau Cathedral | Find Mihai’s crypt and defeat him. |
Time budget: the documented full route uses 14 time segments: 9 across the shard objectives, 2 across Night Terrors and A Monk and a Saint, and 3 for the final tempering. This is the combined route cost, not 14 extra segments after you collect the pieces. Check the time prompt before confirming each objective.
Do Not Disturb: Maragir Wealds shard
Head northeast of the Upper Maragir Wealds shrine, across the river, to the bloody campsite. Activate Focus Mode and inspect the highlighted traces. The trail leads into a kobold den in the northeast of Maragir Wealds.
Clear the kobolds outside and inside the cave. At the far end, recover the shard from the broken stone cross or altar. The shard pickup advances time; searching the entrance alone does not complete the objective.
Before leaving, inspect the wall drawing and map. The map marks the other shard quests, so this is a useful first stop if you have found no other pieces. It is a suggested starting point, not a required order.
Hostile Takeover: Rockfalls shard
The next den is in northern Rockfalls, southwest of the Giant’s Pawns shrine and east across the mountains from Westridge Outpost. Approach through the forest from the east. Look for the white X painted above the cave entrance; crouch to pass through.
Inside is Munch-Munch, a corrupted kobold whose hits can poison Coen. Defeat it, then search the nest at the back of the cave for the sword shard. Winning the fight is only part of the objective: you still need to collect the piece.
The cave also has a map pointing to the other shard locations. If this is your first den, inspect it before travelling onward. You can collect this shard before the Maragir Wealds one; the numbering here is for navigation, not a quest lock.
Executive Order: the missing cave shard
Start near the Crossroads Inn in St. Tyna’s Grove. From the shrine outside the inn, head south and take the left-hand road climbing into the hills. It leads to a kobold den southeast of the inn, with an abandoned camp outside.
The shard is no longer in this cave. Use Focus Mode to investigate the bodies and wall painting. The clues establish that soldiers took it, and the objective updates to their camp. A letter in the den also provides a lead about an uriashi blacksmith.
Follow the new objective to Xanthe’s soldier camp near the Tantari Watermill shrine, an outpost that also counts toward her Court Activities. Clear the soldiers and search the small chest inside the main tent for the shard. Expect level-25-plus enemies here; this is a different encounter from the dead kobolds in the original cave.
If your journal still points at the den, finish examining its highlighted evidence. If you have already reached the camp, search the tent rather than returning to the cave for a piece that was moved.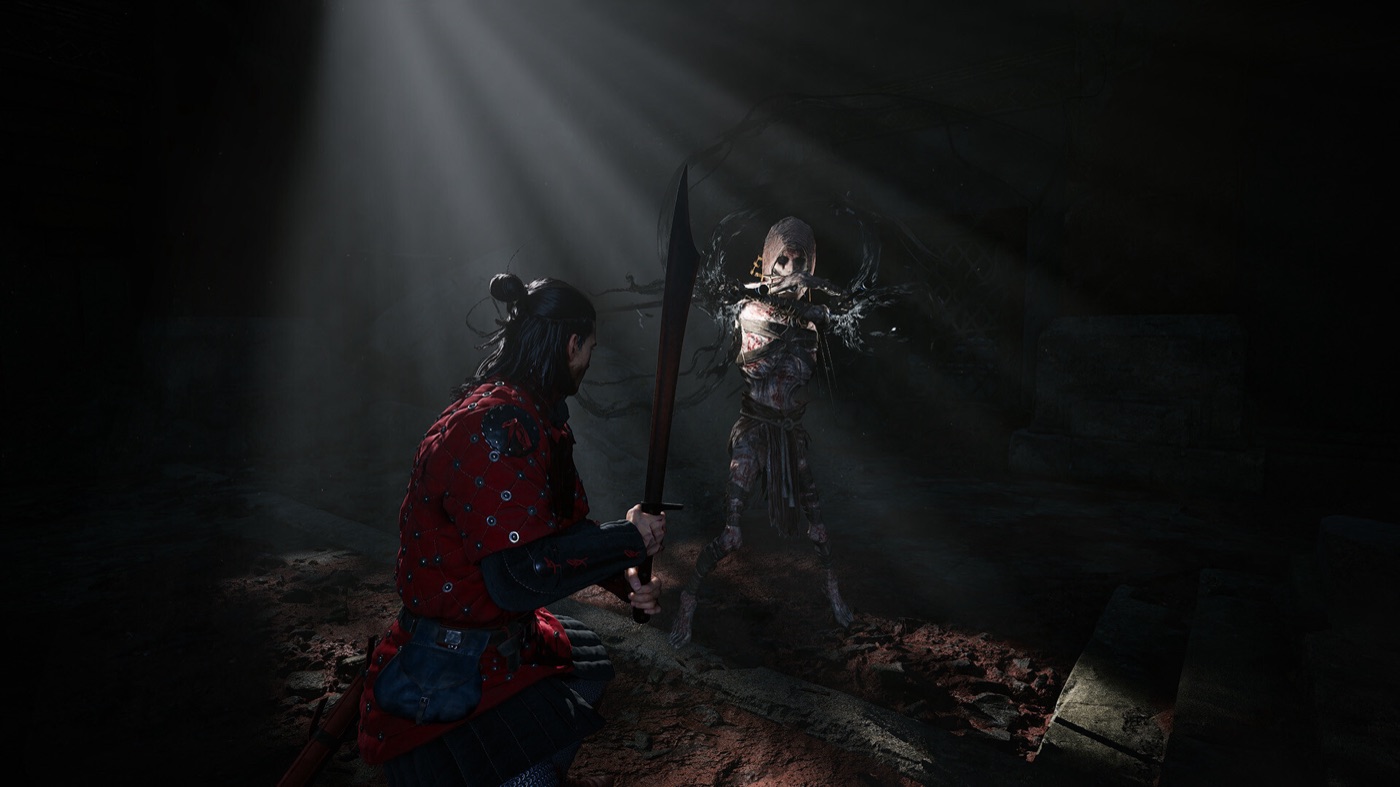
Get the hilt: Night Terrors and A Monk and a Saint
The three shards are not the whole weapon. You also need the Broken Sword of St. Mihai from the cathedral questline in Svartrau. If it is already in your inventory, skip to the blacksmith.
Enter the cathedral well at night
Visit the courtyard on the north side of Svartrau Cathedral at night and inspect the well where the strange sounds come from. This starts Night Terrors. Drop down, crouch into the cave and use Focus Mode to examine the body beside the wall. Read the note in the pouch on its right to finish the quest and start A Monk and a Saint.
Clear the kobolds in the cave. Focus Mode highlights a movable stone; push it aside to open the exit back toward the cathedral grounds.
Learn Mihai’s symbol before opening the grave
There are five graves in the northern courtyard, but finding them is not enough. Coen must first identify Mihai’s symbol. Inside the cathedral, use Shadowstep to reach the scaffolding on the left. At the last scaffold on that side, look toward the book to bring up the inspection prompt for the fresco. Mihai’s armor in the painting carries the symbol you need.
Return to the courtyard. Facing the row of five graves, inspect the second grave from the right. Once Coen recognizes its symbol, he opens the entrance. If the graves were not interactable earlier, learning the symbol is the missing step.
Find and defeat Saint Mihai
Descend into the crypt and take the first door on the left. Investigate the noise at the left wall with Focus Mode, then open the wall to find Mihai. Defeat Mihai, Patron of the Cathedral to obtain the broken sword. It is the fourth component needed for the forge, not a replacement for the three blade shards.
Uriashi blacksmith location and reforging
Bring the three shards and the broken sword to the Uriashi Hermitage shrine by Briar Sloughs. Look for the lone hornless uriashi at the hermitage, near the house and standing stone. Speak to her about repairing the sword.
She combines the pieces into the Restored Sword of St. Mihai, a purple-rarity weapon. If you have reached this stage, the collection portion is finished. The remaining objective is to restore the blade’s full power, which requires a ritual at the ancient place she describes.
Do not mistake the restored version for the final reward. Forge It Anew continues beyond the blacksmith, and the legendary version comes from the tempering encounter below.
Temper St. Mihai’s sword: the final ritual
From the blacksmith, follow the objective northwest and uphill to the nearby cave. Break the red vines or thorns blocking entry and defeat the enemies inside. Continue into the ancient ruins, climb through the cave and pass through the door at the far end to reach the ritual chamber.
Interact with the red orb to begin tempering. This triggers Echoing Anger: three waves of enemies rather than a single opponent. Clear the waves to reach the cutscene in which Coen imbues the sword.
The final weapon is the Imbued Sword of St. Mihai. Completing the restoration also unlocks Arbiter’s Blade. The sequence is broken pieces → Restored Sword → Imbued Sword; stopping after the forge leaves the last upgrade unfinished.
For other gear routes, the Legendary Equipment hub keeps the wider weapon and armor collection in one place. To place this quest inside the surrounding chains, use the All Quests Walkthrough.
This page covers the four sword components, the blacksmith hand-in and the tempering ritual only: the wider weapon and armour collection belongs to the Legendary Equipment hub, and the surrounding quest order is on the All Quests Walkthrough.